

When I bought a Mac mini, I wasn’t planning to alter my desk setup. I wished a small, quiet machine that would deal with writing and a stack of browser tabs with out getting in the best way. A 24-inch 1080p monitor had labored reliably for years on Home windows, so it felt like a protected option to hold utilizing it on macOS.
At first, every thing appeared fantastic, however the display didn’t look fairly proper. The textual content was readable, but it surely lacked the clear edges I used to be used to. Menu labels, browser tabs, and lengthy paragraphs all seemed barely mushy. I saved working, assuming I’d cease noticing it, but it surely didn’t fade into the background. My first intuition was that I’d missed a setting, not that the monitor itself was the issue.
Why 1080p typically struggles on macOS
macOS expects extra pixels

A 24-inch, 1080p monitor sits at about 92 pixels per inch. That density is widespread, and on Home windows, it normally appears to be like fantastic. At its native 1920 by 1080 decision, textual content and interface components have a tendency to remain visually steady, even when they aren’t particularly sharp. For lengthy writing and studying periods, that stability is usually sufficient.
MacOS is tuned for a special type of show. Apple’s personal screens, together with many displays marketed for Macs, use a lot greater pixel density. On these shows, the system can draw the interface with extra bodily pixels, conserving textual content edges cleaner and lowering the necessity for heavy smoothing.
On a 24-inch 1080p panel, macOS doesn’t get a lot room to work with. The system retains textual content readable, but it surely depends extra on smoothing than on different methods. Skinny strokes and small particulars find yourself trying softer, particularly in menus, browser tabs, and lengthy blocks of textual content. If you happen to spend many of the day studying and writing, that softness turns into onerous to disregard.
That is additionally why shifting to 1440p on the similar display dimension tends to really feel like a transparent improve. You are not altering how you’re employed or how shut you sit to the display. You’re merely giving macOS extra pixels to work with. Growing display dimension with out growing decision normally has the other impact, as a result of the identical pixels get unfold thinner and the softness stands out much more.

Why I Regret Buying a Laptop Instead of a Desktop
Let’s face it: desktop PCs are simply the most effective.
The blur that ruined the setup
Readability that saved slipping

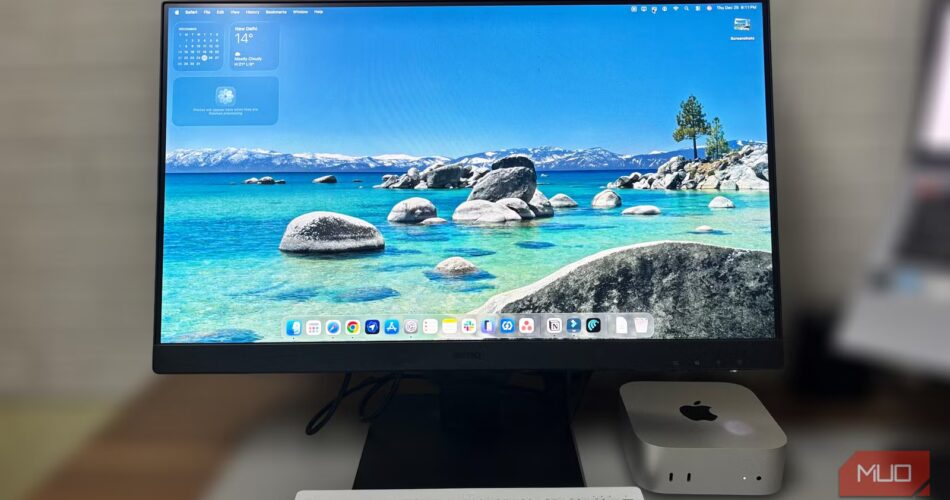
When the textual content didn’t enhance, I opened System Settings and went straight to Shows. The monitor confirmed up as a BenQ GW2490, with 1920 by 1080 already chosen. That half was right. It was the panel’s native decision, and nothing seemed misconfigured. Nonetheless, the textual content seemed barely out of focus, particularly in smaller UI components like menu labels and browser tabs.
I turned on Present all resolutions and began testing choices. Close to the underside, I noticed a number of entries marked HiDPI. These had been the one ones that hinted at sharper textual content, so I attempted them. The letters tightened up, however the desktop additionally seemed zoomed in, like I had traded readability for workspace. Icons, menus, and home windows grew to become noticeably bigger, and I misplaced the room I wanted for writing with a number of home windows open.

So, I ended chasing macOS’s built-in scaling and tried a workaround that didn’t change the format. I installed BetterDisplay and enabled its Excessive Decision possibility from the menu bar.

BetterDisplay helped in a approach macOS’s built-in scaling didn’t. Textual content edges seemed extra managed, however the interface stayed near the scale I wished. The decision remained at 1920×1080, and my desktop format didn’t get rearranged. It didn’t flip the monitor right into a Retina panel, but it surely decreased the softness sufficient that I might work with out observing each line twice.
The cable change that lastly mattered
Not a repair, however higher

After BetterDisplay, the display grew to become usable, however not settled. Lengthy paragraphs had been simpler to learn, but smaller textual content like browser tabs and menu labels nonetheless seemed a bit mushy. By that time, I had already tried every thing I might change within the software program, so I ended tweaking settings and seemed on the setup itself.
I used to be utilizing HDMI as a result of it got here with the monitor, and it labored fantastic with my Home windows setup for years. On the Mac, the show already felt borderline, so I examined the one remaining variable I might change with out changing the {hardware}. I switched to a USB-C to DisplayPort cable and left the remainder of the setup alone.
The purpose wasn’t that HDMI was mistaken. I simply wished to grasp the differences between HDMI and DisplayPort and see whether or not a special connection might make textual content look a bit cleaner on the identical monitor. DisplayPort is built more around monitor-style output, and it’s typically a cleaner match for desktop setups. In my case, the change was not dramatic, but it surely was clear sufficient to note.
Skinny textual content strokes seemed steadier, and the faint blur round small fonts eased up. It nonetheless wasn’t a pointy show, however studying not felt tiring. The cable didn’t repair the boundaries of the panel, but it surely made the display simpler to dwell with.
What I’d change subsequent
Ultimately, the issue wasn’t the Mac mini. It was my assumption {that a} 1080p monitor would look the identical on macOS because it did on Home windows. Software program tweaks and a greater cable helped, however they solely labored across the limits of the panel. If I had been shopping for a monitor for a Mac at present, I wouldn’t select 1080p once more. At this dimension, a 1440p show provides macOS extra room to attract clear textual content with out further instruments or compromises.
Source link