


Ever wished to attempt colours in your stl mannequin ?
Right here you go
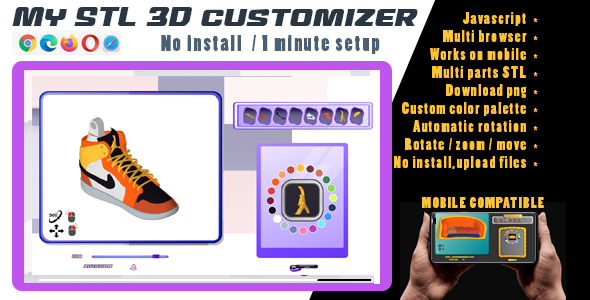
This isn’t solely an STL viewer however an stl simple coloring instrument
– Add multi half STL (as much as 24 elements) and coloration them individually
– Rotate, Zoom , apply as many modifications as you want
– Obtain a .png of your creation
The instrument is ideal for non coder :
– 1 Minute setup
– Javascript, works on each platform
– No set up, simply unzip and add, works on evey browser
– Replace the config file together with your stl elements
– Change coloration palette (as much as 20 colours of your selection)
– Actual time instantaneous coloration change, the instrument is quick and light-weight (solely 3Mo)
– Computerized rotation sure / no – Simple to change information (with remark and pattern)
– Simple to alter design, no coding, simply add your model picture
We recomend Blender or that sort of software program to create your multi half stl . In case of a 1 half mannequin, nothing to do, simply add it and rename it , and you might be carried out
I’m all the time joyful to supply assist, verify your creation or work on improvment I’m obtainable each day from 6 to 12 France time
- All income go to handicaped canines
Directions are included within the package deal
– INSTALLATION – Unzip – You solely have to add the total content material in your web site in a devoted folder
SETUP Your STL mannequin
– We recomend Blender to create your multipar .STL mannequin
– Add all of your separate stl file in /mannequin/stl Config of your mannequin
– It is advisable to title all of the elements in your config.json file . Open it with a textual content editor and alter the title of the required half on this line : “src”: ”./mannequin/glb/couch/part01.stl”, You may give any title to your elements so long as it’s the title figuring within the config file Add or take away elements in accordance with you mannequin variety of items
Change colours : Open script.js in a textual content editor and on line 158, change the colour code in accordance with your wants
Save your picture : simply click on the underside proper button to avoid wasting the picture of your creation