

![]()
The best way to use Mission Management on Mac to boost your productiveness
Juggling a number of apps and home windows can really feel chaotic, however macOS Mission Management brings order to the insanity, supplying you with a transparent, organized view of all of your open apps, desktops, and full-screen home windows.
Managing a number of home windows, apps, and desktops on a Mac might be overwhelming, notably for customers who regularly multitask. Leaping from one window to a different, minimizing apps, and navigating between completely different duties can result in confusion and wasted time.
To sort out this, macOS gives a function referred to as Mission Management, which serves as a one-stop instrument for organizing your open home windows, full-screen apps, and a number of desktops, also called Areas.
Launched in macOS X 10.7 Lion, Mission Management combines a number of earlier options like Expose and Areas right into a streamlined interface. The highly effective instrument helps you view all of your working apps and desktops without delay, making it simpler to modify between duties and maintain your workspace organized.
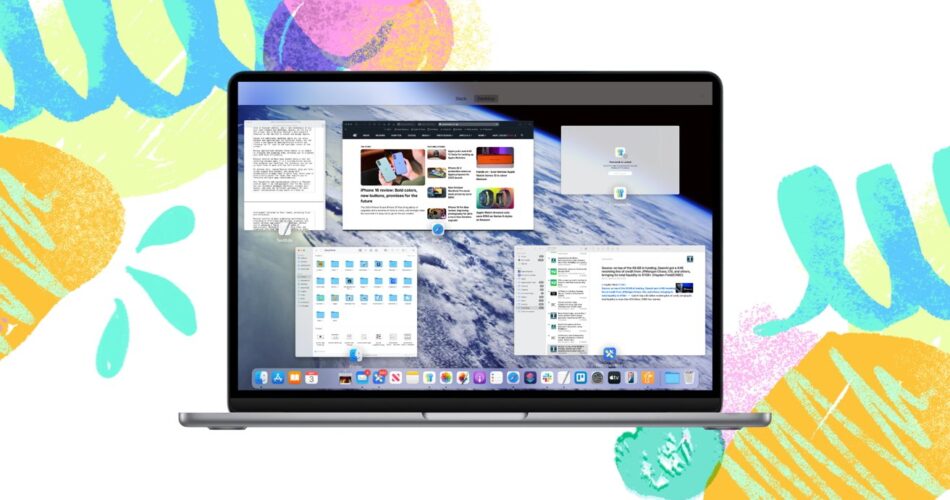
Mission Management in Settings
Whether or not you are managing private duties, artistic tasks, or work-related actions, Mission Management permits you to declutter your desktop and enhance effectivity. In essence, Mission Management helps you preserve a clear, manageable workspace whereas making certain that nothing will get misplaced in a sea of open home windows.
The best way to use Mac Mission Management
There are a number of strategies to activate Mission Management, relying in your setup.
- You’ll be able to press the F3 key.
- Swipe up with three or 4 fingers on a trackpad.
- Or press Management + Up Arrow.
- Should you favor utilizing a Magic Mouse, a double faucet with two fingers will do the trick.
You’ll be able to even arrange Scorching Corners to set off Mission Management by transferring your cursor to a particular nook of your display screen.
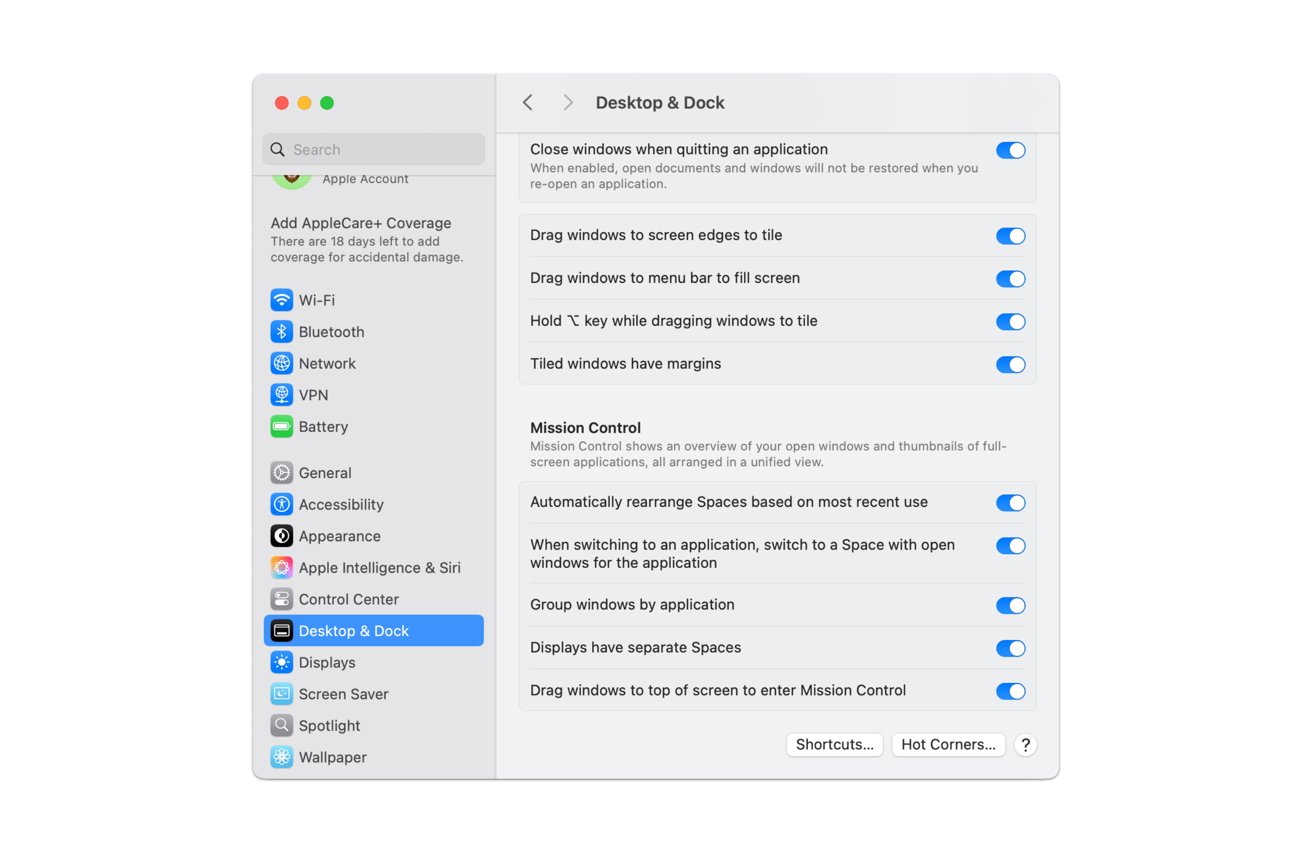
Establishing Scorching Corners
To arrange Scorching Corners on a Mac, comply with these steps:
- Open Settings.
- Go to Desktop & Dock.
- Scroll down to search out Mission Management.
- On the backside, click on Scorching Corners to show the 4 display screen corners.
- Choose an motion for every nook from the drop-down menus.
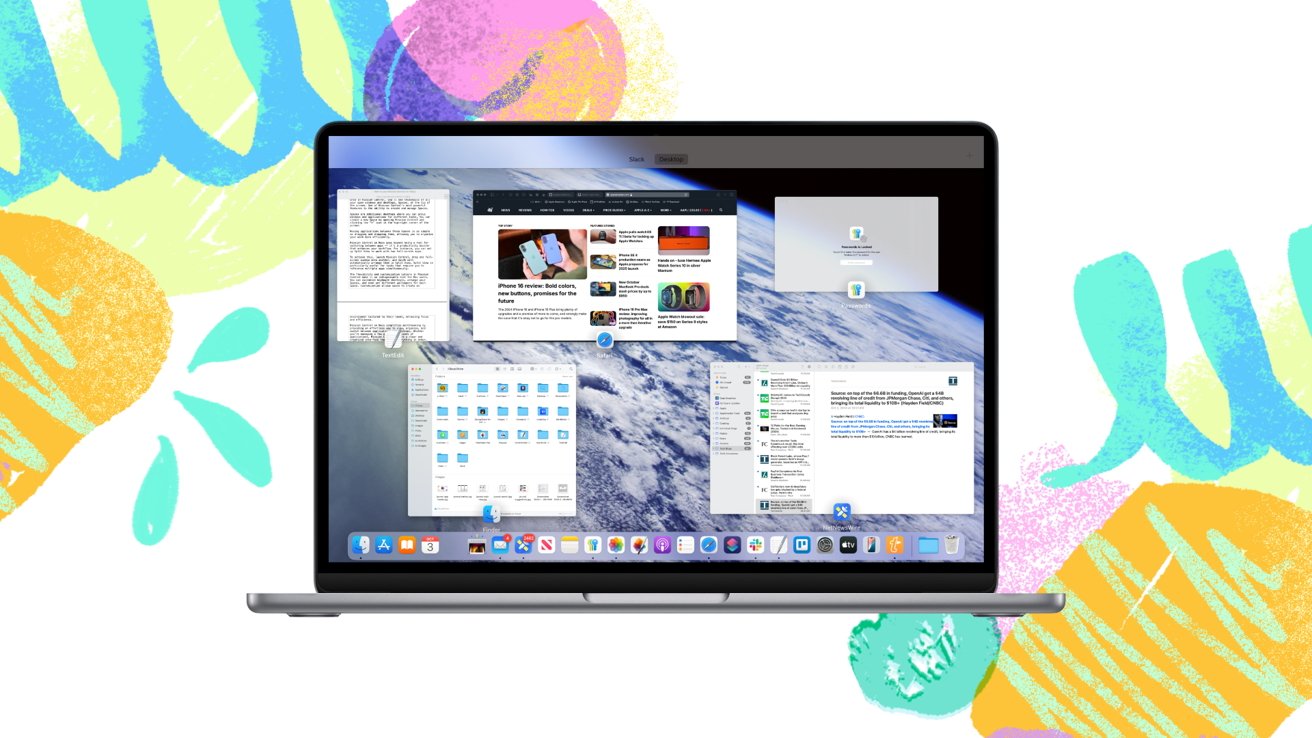
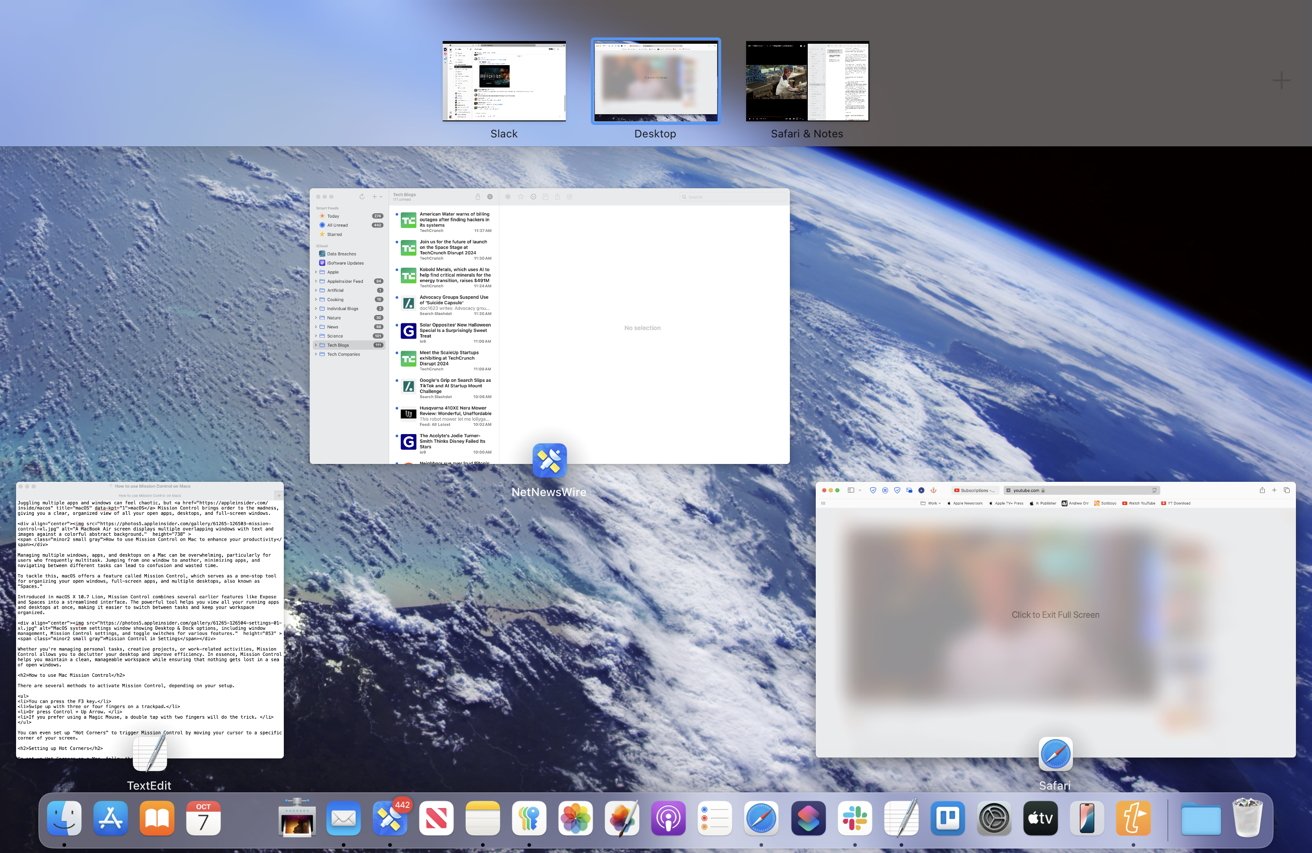
As soon as in Mission Management, you may see thumbnails of all of your open home windows and desktops, Areas, on the high of the display screen. Certainly one of Mission Management’s strongest options is the flexibility to create and handle Areas.
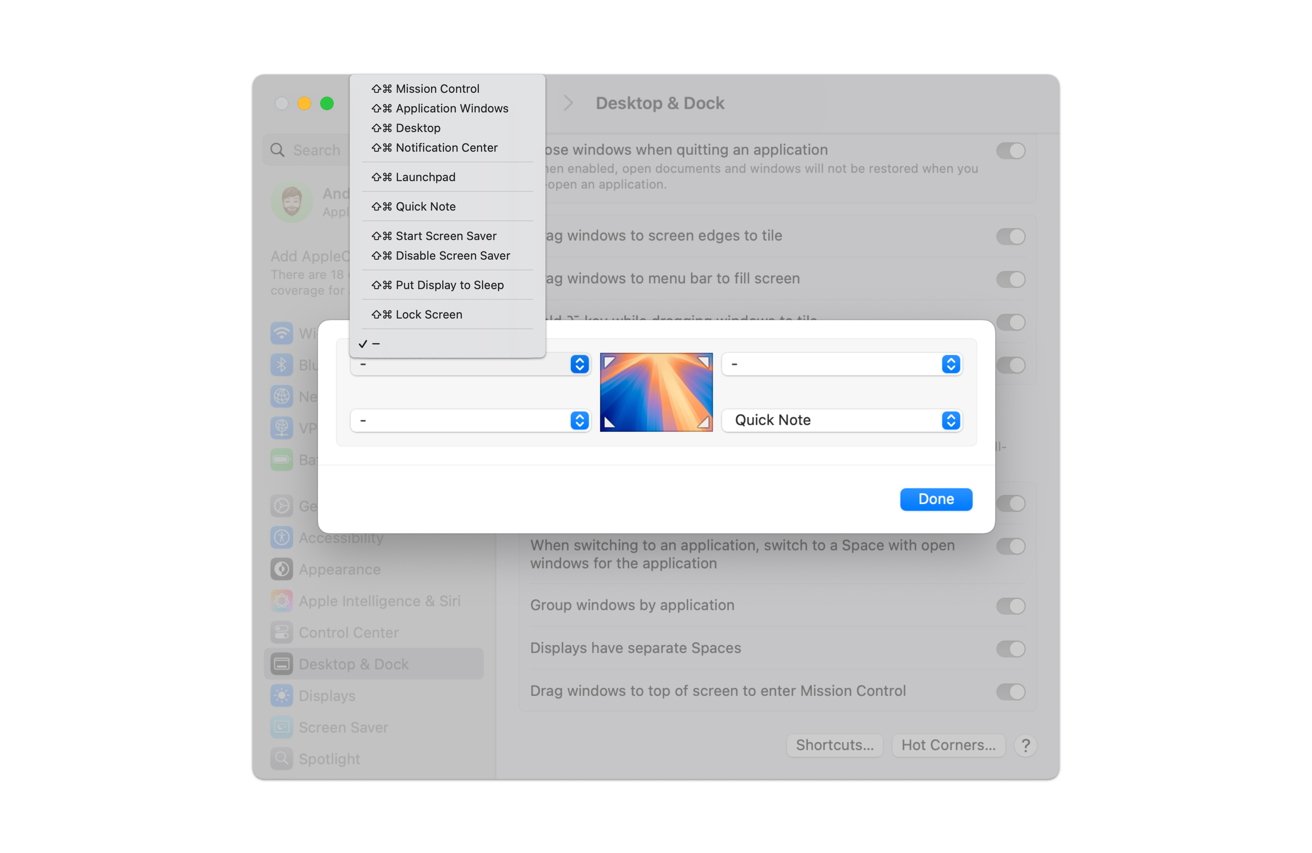
Establishing Scorching Corners in Settings
Areas are further desktops the place you may group home windows and functions for various duties. You’ll be able to create a brand new House by opening Mission Management and clicking the “+” icon within the top-right nook of the display screen.
Transferring functions between these Areas is so simple as dragging and dropping them, permitting you to arrange your work extra effectively.
Utilizing Cut up View with Mission Management
Mission Management on Macs goes past being a instrument for switching between apps — it is a productiveness booster that enhances your workflow. For example, you may arrange Cut up View to work with two full-screen apps.
To make use of Cut up View with Mission Management, each functions have to be in full-screen mode, which provides them their very own “slots” within the Areas bar on the high of the display screen. This bar exhibits all of your open desktops, full-screen home windows, and split-screen areas.
- First, make one app full display screen by clicking the inexperienced button within the app’s title bar.
- As soon as it is full display screen, open Mission Management (utilizing F3, Management + Up Arrow, or a trackpad gesture).
- Within the Areas bar on the high, you may now see the full-screen app as its personal House.
- Drag one other app onto this full-screen app’s House thumbnail, and it’ll routinely create a Cut up View.
- You may then have the ability to alter the window sizes throughout the break up display screen.
The flexibleness and customization choices in Mission Management make it an indispensable instrument for Mac customers. You’ll be able to customise keyboard shortcuts, organize your Areas, and even set completely different wallpapers for every House. Customization permits customers to create an atmosphere tailor-made to their wants, enhancing focus and effectivity.
Cut up View allows you to see two apps without delay
Mission Management on Macs simplifies multitasking by offering an easy method to view, manage, and change between functions and desktops. Whether or not you are managing a number of home windows or dozens of functions, Mission Management gives a transparent and arranged interface that retains every little thing so as.
Source link