

![]()

To disable Consumer Account Management (UAC) on Home windows, open the Begin Menu and search “UAC.” Choose “Change Consumer Account Management Settings,” then use the slider to set it to “By no means Notify.”
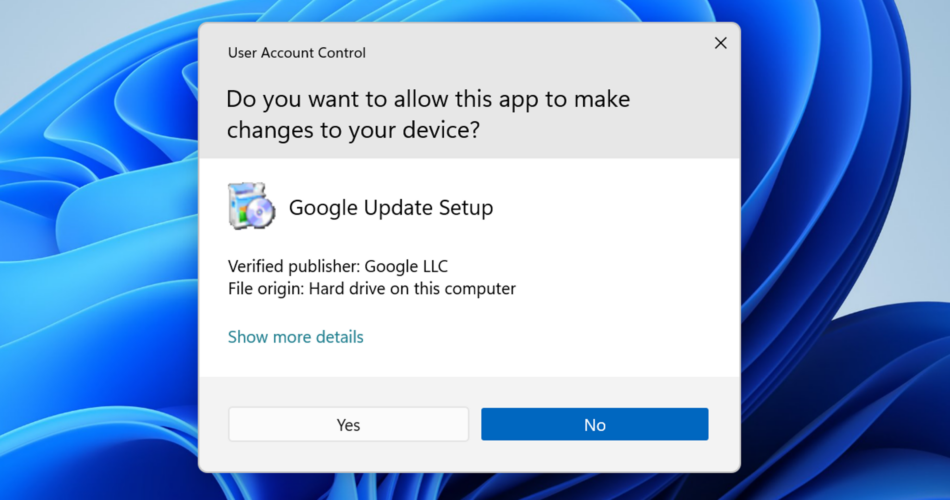
Consumer Account Management is a crucial Home windows safety function. If a operating software desires full entry to your system, it has to ask with a UAC immediate. In case you disable UAC, all operating functions can achieve Administrator entry with out asking first. Right here’s the way you disable UAC on any model of Home windows.
What Is UAC?
UAC Stands for “Consumer Account Management,” and it’s a safety function constructed into home windows that blocks packages from accessing protected folders with out direct person authorization. It’s one further barrier between your system and probably malicious functions.
All trendy variations of Home windows, together with Home windows 11, Home windows 10, Home windows 8, Home windows 7, and Home windows Vista, have Consumer Account Management, and it’s enabled by default. It’s included on Home windows Server, too. UAC choices are discovered within the basic Management Panel, even on Home windows 10 and Home windows 11.
Warning: Disabling UAC can depart your laptop extra susceptible to malicious software program. We advocate in opposition to disabling UAC until you’ve a particular want, like troubleshooting a software program challenge. In case you do disable UAC briefly, we advocate re-enabling it as quickly as attainable.
How you can Disable UAC on Home windows 10
First, open the UAC settings window. To take action, open your Begin menu (by urgent the Home windows key or clicking the Begin button). Kind “UAC” or “Consumer Account Management” into the search field within the Begin menu.
Click on “Change Consumer Account Management Settings” within the search outcomes or click on “Open”
Tip: UAC choices are additionally accessible within the Management Panel. Navigate to Management Panel > Consumer Accounts > Change Consumer Account Management Settings

Within the Consumer Account Management Settings window, click on and drag the slider to the underside place, which is “By no means Notify.” With this setting, functions will be capable of request Administrator entry to your system and can instantly be granted that entry with out asking you first.
Click on “OK” to avoid wasting your alternative. You’ll have to agree to at least one ultimate UAC immediate to substantiate the change. It should take impact instantly after you do.

How you can Disable UAC on Home windows 11
The process for disabling UAC didn’t change in Home windows 11.
First, seek for “UAC” within the Begin Menu. Choose “Change Consumer Account Management” from the search outcomes, or click on “Open.”

Drag the slider all the way in which to the underside possibility, “By no means Notify,” then click on “OK” to substantiate your choice. Any exercise that may usually set off UAC will as a substitute be routinely given the go-ahead.

What Do the UAC Choices Imply?
The UAC slider provides you 4 separate choices for selecting Consumer Account Management conduct on Home windows. Listed below are the choices you may select from:
- At all times notify me when: This feature is much more strict than the default setting. Home windows will present the usual UAC prompts while you set up functions, for instance. Nonetheless, additionally, you will must conform to UAC prompts while you change Home windows system settings. This ensures functions can’t silently modify working system settings with out asking you.
- Notify me solely when apps attempt to make modifications to my laptop (default): That is the default UAC conduct. Home windows will ask you for permission while you set up functions or when these functions need full system entry, however you gained’t see UAC prompts while you change most Home windows working system settings.
- Notify me solely when apps attempt to make modifications to my laptop (don’t dim my desktop): This is similar because the default setting, however Home windows will present you a UAC window over your regular desktop atmosphere relatively than a UAC window over a dimmed desktop atmosphere. The dimmed desktop atmosphere is definitely a particular, safe desktop that operating functions can’t intrude with. It’s best to solely use this feature if it takes your laptop a very long time to dim the desktop, which might possible be attributable to a {hardware} or driver challenge.
- By no means notify me when: Purposes can achieve UAC entry with out asking you. You’ll by no means see a UAC immediate requesting your permission or informing you UAC entry was granted whereas the “By no means notify” setting is activated. To completely disable UAC, that is the choice you have to choose.
Ought to You Disable UAC?
No, you shouldn’t disable UAC in your system if you happen to don’t have to. We advocate leaving it enabled.
The default setting is acceptable for most individuals, because it balances the safety UAC presents in opposition to the annoyance of a popup. Disabling UAC makes it simpler for malicious functions to make modifications to your system with out your information.
To re-enable UAC sooner or later, re-open the Consumer Account Management Settings window, drag the slider again to the default place, and click on “OK.” Adjustments to your UAC settings will take instantly; you don’t must reboot.

Once more, we strongly advocate in opposition to disabling UAC until you’ve a very good purpose to take action. Whereas the function was very obnoxious and noisy when it debuted on Home windows Vista, it’s been rather more affordable since Home windows 7 and it nonetheless works properly on Home windows 10 and Home windows 11 at present. You might even see fairly just a few UAC prompts when establishing a pc and putting in your software program, however they hopefully shouldn’t be too frequent after that—they usually’re an essential safety function that places you in management over what functions can do in your PC.
What Is UAC Virtualization?
UAC Virtualization permits packages that may sometimes require full administrative permissions to function usually by offering a digital facsimile of the protected folder for this system to make use of. Here’s a concrete instance of the place you would possibly encounter it.
Most trendy video games write their save recordsdata to some location within the Consumer folder. Typical places embody AppData, the Paperwork folder, or the My Video games folder. Since no administrative permissions are required to learn and write recordsdata to any of these places, video games are free to write down their saves (or configuration recordsdata) to these places no matter their permission degree. Nonetheless, older video games weren’t all designed that method. Many older video games wrote saves recordsdata to a subfolder within the recreation’s set up location — like “C:Program FilesExampleGameSaves” as an example, and their configuration recordsdata had been saved as INI or CFG recordsdata in the principle recreation listing.
When UAC was launched in Home windows Vista, you both needed to permit these video games to “Run as Administrator,” so they might write to the Program Information listing, or you can use UAC Virtualization. UAC Virtualization primarily faked it so this system thought it was writing to the actual Program Information folder, however it was actually being redirected to a particular listing, “C:Customers(YourUserName)AppDataLocalVirtualStore,” as a substitute.
Although our instance mentions Vista particularly, the problem sometimes crops up on Home windows 10 and Home windows 11 while you attempt to run a program designed pre-Vista.
UAC Virtualization is useful, however it does have some limitations:
Is it such an enormous deal that it is best to exit of your method to purchase a costlier model of Home windows? Positively not, until you’ve a recurring and pressing have to run outdated software program on Home windows 10 or Home windows 11. Nonetheless, it’s helpful if you have already got a Professional model put in.
To allow (or disable) UAC Virtualization on Home windows 10, seek for “localsec” within the Begin Menu, then click on “Native Safety Coverage” or “Open.”

Navigate to Native Insurance policies > Safety Choices, then scroll in direction of the underside and double click on “Consumer Account Management: Virtualize File and Registry Write Failures to Per-Consumer Areas.”

Be sure that UAC Virtualization is about to “Enabled,” then click on “Apply.”

In fact, UAC is just one a part of operating a safe Home windows set up. It’s good to have the best antivirus software, good basic computer security practices, and an unlimited dose of skepticism about any sudden popups you encounter on the Web. You additionally must be looking out for extra difficult threats, like phishing emails and social media scams, like these discovered on Facebook, the Facebook Marketplace, or LinkedIn.
Source link