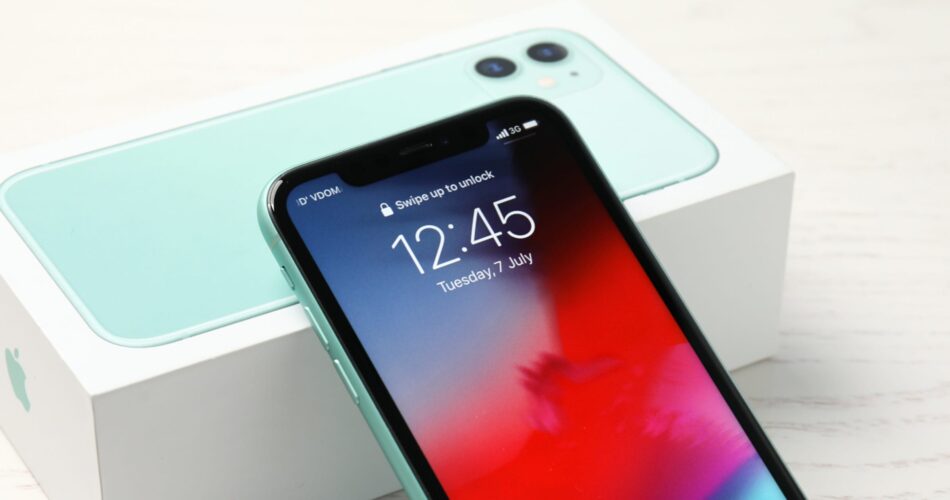
Your iPhone automatically adjusts the time and date depending on your current location. However, if you want to manually change these settings, you can do so. Here’s how.
RELATED: How to Customize the Time and Date in the Mac Menu Bar
Manually Adjust the Time and Date on iPhone
To disable automatic time and date and enable the manual option, first, open the Settings app on your iPhone. In Settings, tap “General.”

On the General screen, tap “Date & Time.”

On the Date & Time page, first, turn off the “Set Automatically” option. This ensures you can manually enter your time and date options.
If you can’t disable the “Set Automatically” option because it’s grayed out, then follow the next section in this guide to learn what to do.

To manually set the date, tap the current date displayed on your screen and then choose a new date. Similarly, to change the time, tap the current time and specify a new time.

Your iPhone automatically saves your changes so you don’t have to do anything. And you are all set.
RELATED: How to Turn Off GPS Location Tracking on an iPhone
What to Do If “Set Automatically” Is Grayed Out
If the “Set Automatically” option is disabled, then you will have to turn off Screen Time on your iPhone before you can manually change your date and time settings.
If you’d like to do that, then first, open the Settings app on your iPhone.
In Settings, scroll a bit down and tap “Screen Time.”

At the bottom of the “Screen Time” page, tap “Turn Off Screen Time.”

In the prompt that opens, tap “Turn Off Screen Time.”

Now that Screen Time is disabled, follow the steps in the first section above to manually adjust the time and date settings on your iPhone.
On a related note, did you know you can add a world clock and time zone widgets to your iPhone? Check that out if you’re interested.
RELATED: How to Add World Clock and Time Zone Widgets to Your iPhone
Source link


